


- Video
-
Club Roar
Captured a great grassroots sporting moment? We want to see it!Content Collections
The Roar Community
- Join
- Login
Ultimately, the history books will show only a 38-13 defeat from last Saturday night, and a new All Blacks record for most points scored in the second half of a Bledisloe Cup Test.
Because of course there’s a record for that.
And following on from 54-34 last year, and 42-8 in 2016, 38-13 reads as yet another Sydney Bledisloe disaster. Plenty of reaction on Sunday and Monday insists it was.
And don’t worry, this isn’t where I tell you all was rosy, because it certainly wasn’t.
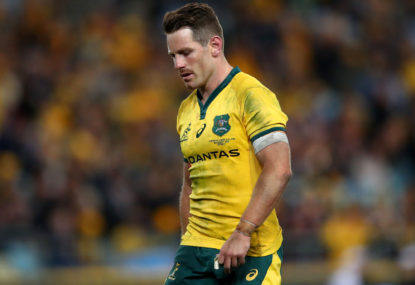
Mike Hooper (Photo by Matt King/Getty Images)
The stats sheet is already well known and doesn’t make for good reading. Any side conceding upwards of twenty turnovers and missing a quarter of all tackles attempted is going to have a hard time beating anyone, never mind New Zealand.
But the stats sheets also show that the Wallabies forced more turnovers upon New Zealand themselves, and with a good chunk of them coming in the first half, where the Wallabies enjoyed a quality opening to the match – even if defensive infringements killed off numerous scoring opportunities for the home side.
There’s no question that New Zealand made the most of the Australian mistakes; that’s hardly a new development.
But in truth, New Zealand didn’t play a lot of rugby themselves; they only got past seven phases three times for the match, despite enjoying well over half of possession. Australia even played 60 per cent of the game down the other end of the field. They were laying the ground work.
This was a major reason why I suggested late in the game on Saturday night via Twitter that it really didn’t feel like the Wallabies had been as outplayed as the scoreline might suggest.
What's ridiculous about this is that I don't think the Wallabies have been 25 points worse tonight. It's just NZ's ability to capitalise on the mistakes…
— Brett McKay (@BMcSport) August 18, 2018
Five of the six All Blacks tries originated from Wallabies mistakes. And several came with New Zealand on the back foot themselves.
Only Aaron Smith’s before half time came from their own build-up but even then, the chance only arose after Lukhan Tui was slow to react to Dane Haylett-Petty coming forward to close down outside options on the left edge.
From that slight opening, Ben Smith made the half-break, found Waisake Naholo on the right touchline via Jack Goodhue’s shoulder, and the winger then offloaded inside to Keiran Read, who found Aaron Smith on his inside to score a try eerily similar to the matchwinner in Dunedin last year.
Jack Goodhue’s try after the break came off the back of Israel Folau pushing an offload around Naholo, and then Marika Koroibete losing the ball in contact moments later.
Beauden Barrett took the ball wide immediately, with the Wallabies’ right edge very slow to transition into defence. Goodhue and Anton Lienert-Brown made good metres, before Reiko Ioane on the left wing broke into the Australian half and found Goodhue back on his inside to run it in from forty-five metres out.
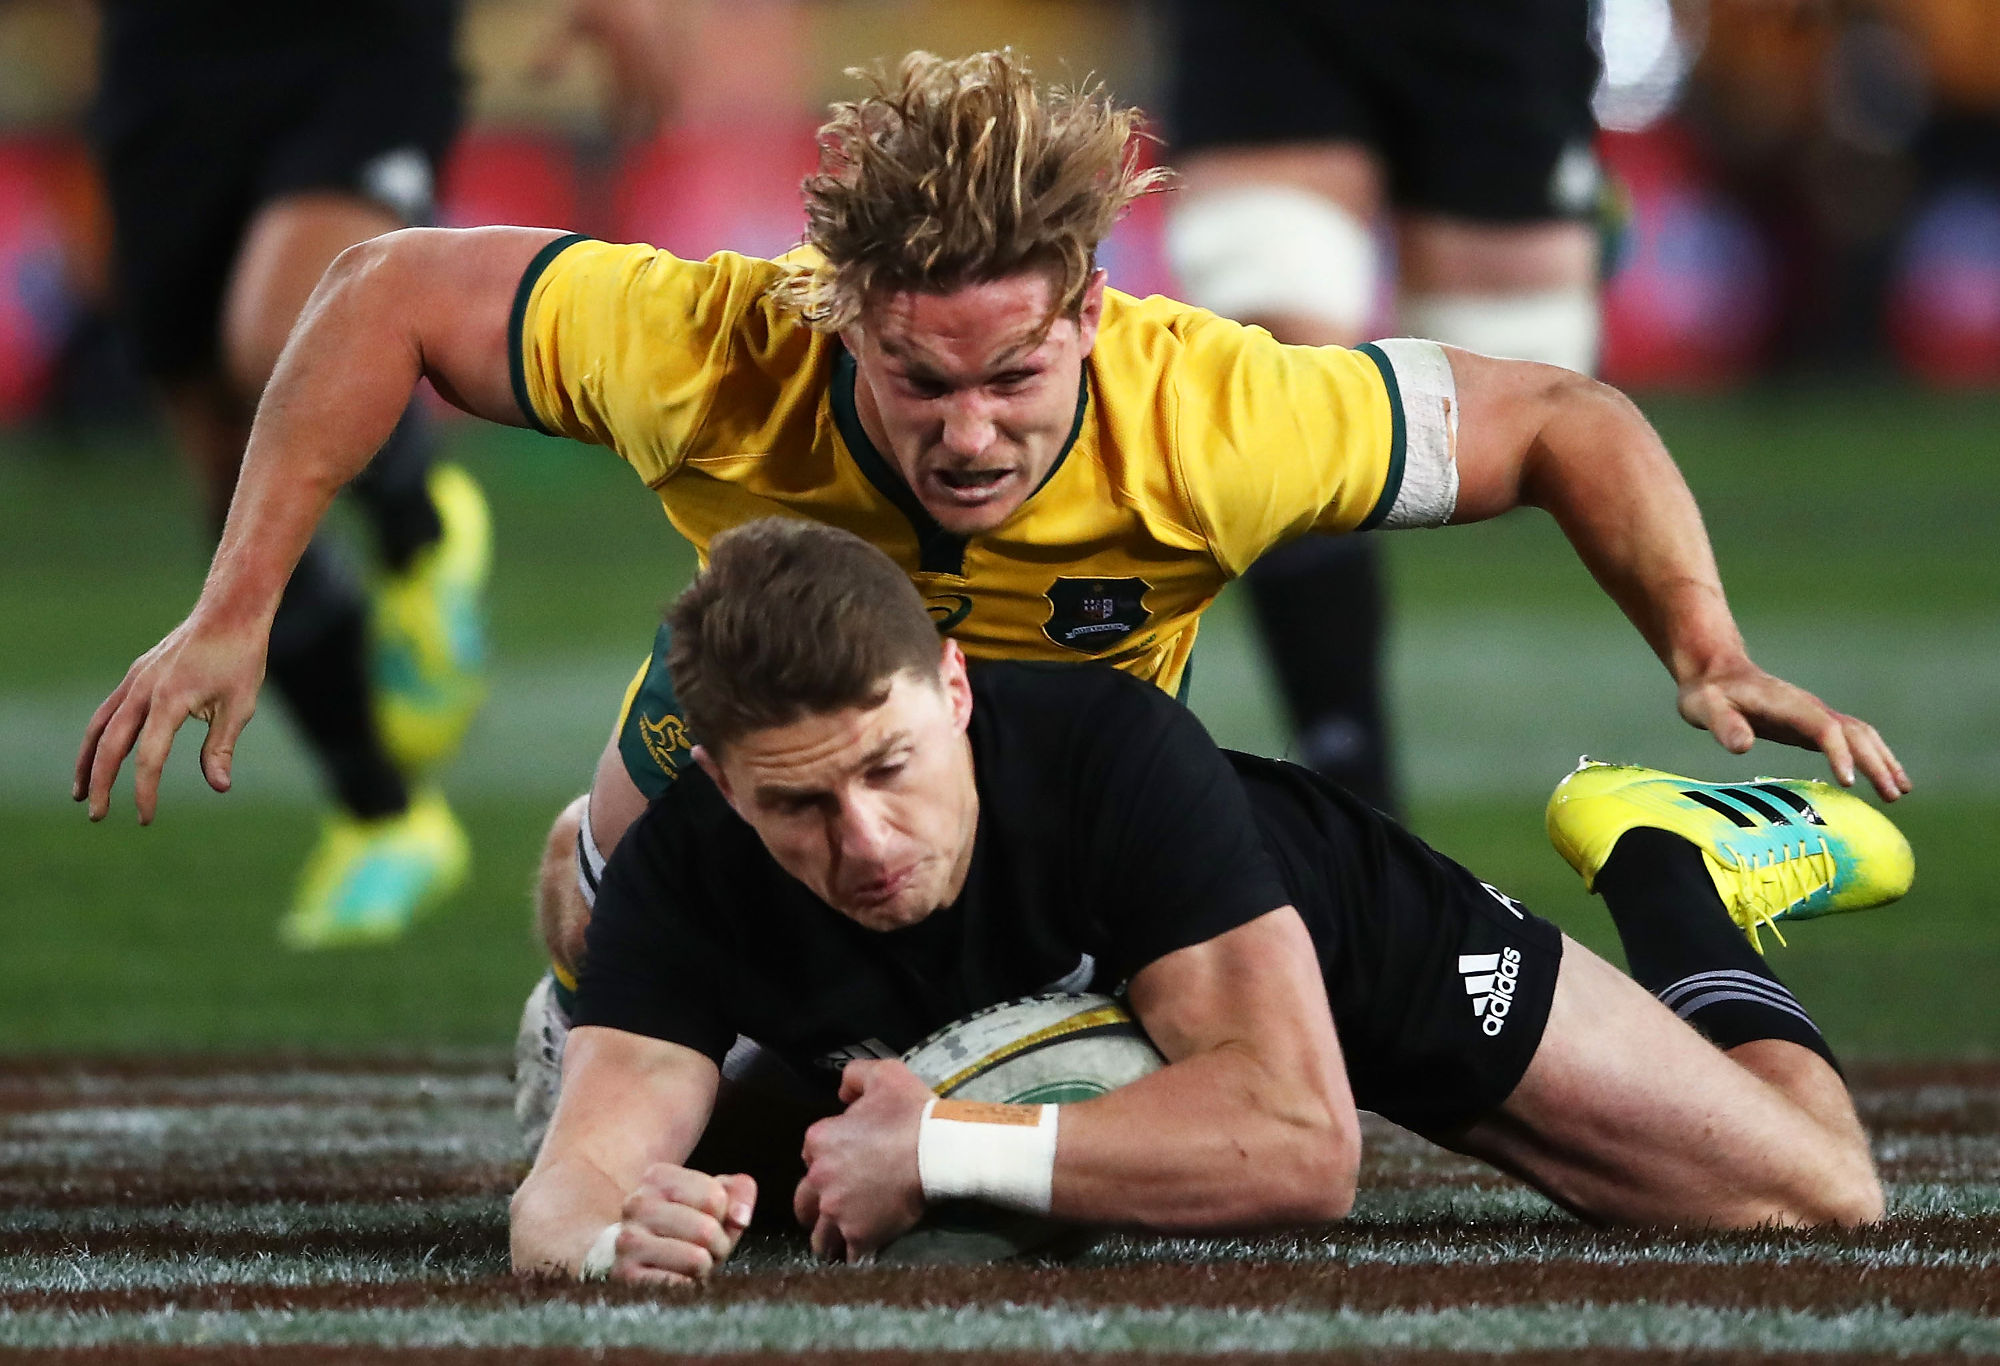
Barrett’s try in the 52nd minute came after getting a toe to a Bernard Foley pass which was half a metre in front of Dane Haylett-Petty. Immediately before that, the Wallabies had broken upfield through their own counter attack, only for it to fall down from a forward pass, and even managed to force more All Blacks errors to earn a scrum feed near halfway.

Beauden Barrett of the All Blacks (Photo by Matt King/Getty Images)
Brodie Retallick’s mother-of-all dummies thirty metres out to score what should probably be a World Rugby Try of the Year candidate came he pilfered from Will Genia on the New Zealand 22, after the Wallabies countered from Naholo’s dropped a kick reception inside the Australian half.
Naholo’s 73rd minute try came after knock-on advantage and a Barrett kick off his wrong foot. Before that, the Wallabies had marched into the All Blacks’ half after eight phases.
The All Black winger’s second came after he somehow managed to stand up the three Wallabies – Jack Maddocks being one – and scooting away to score the All Blacks’ regulation where-did-that-come-from try to seal the win. This was the only try to come directly from a Wallabies’ lost lineout, after Lukhan Tui was beaten to the jump by Sam Whitelock.
Despite things going wrong, a lot was still going right for the Wallabies in the second half.
Maddocks’ 67th minute try on debut came when Michael Hooper easily picked off a flat Barrett pass destined for a forward pod. Hooper went to ground outside his 22, and Retallick was told to stay out of the play after not retreating back onside.
With penalty advantage, the Wallabies attacked left through Beale, who found Foley back on his inside after contact, and he drew Damien McKenzie just before halfway to release Maddocks on his outside to run it in behind the posts.
Foley’s conversion made it 26-13 with a bit over thirteen minutes to play. They were in the contest, if they could just put a lid on the mistakes.
[latest_videos_strip category=”rugby” name=”Rugby”]
They couldn’t of course, and we know the rest.
The set piece needs urgent remedial action this week, obviously, but it’s not that long ago that the Wallabies set piece evenly matched Ireland’s over three Tests.
A crash course reminder in how – and how quickly – they need to transition from attack into defence is definitely in order.
But just as things are never quite as good as we think, neither are things quite as dire. Talk of mass sackings and overhauls is more than a tad over-dramatic.
Eden Park will be the big test for the Wallabies; it always is. If there’s further regression or another second half implosion in the face of plenty of All Blacks mistakes, then much of the last few days’ reaction and overreaction will be better placed.