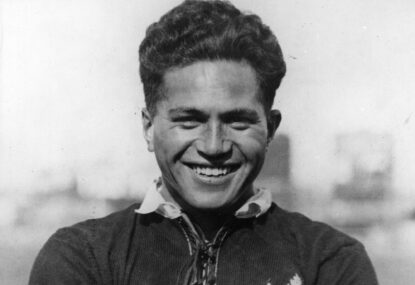
George Nepia made his New Zealand debut 100 years ago, but was he really an All Black at just 16 years of age?
He was born 1905, 1904 or 1908 according to various reports, in Wairoa, Hawkes Bay, and is remembered as one of the great Māori players.

At the start of the Bledisloe Series, the Wallabies brought in James O’Connor and Matt To’omua at 10 and 12 respectively to serve as dual pivots.
This saw them secure a first brave draw with the All Blacks followed by a 27-7 loss, which is considerably decent considering they were away from home and the quality New Zealand have.
In Bledisloe 3, with injuries to the duo, they brought in Nick Lolesio at 10 on debut.
They played an inexperienced debutant as a solo pivot and heaped massive pressure on him, not really considering that he was playing Richie Mo’unga, one of the best flyhalves on the planet.
However, in Bledisloe 4, they brought in the experienced Reece Hodge at 10, maintaining a usual set of starters.
I could not help but note the impact of the split game management between the 10 and 12, with Reece Hodge and Hunter Paisami. Another character in this story of dual pivots is fullback Tom Banks, an extra second/third receiver option.
Hodge and Paisami both have decent playmaking ability combined with good ball skills. Tom Banks is a tactical striker and decent pace option.
Hodge had six passes, two kicks in play, and two carries. Paisami had eight passes, two kicks in play, and ten carries. These numbers show the amount of possessions despite trying moments to claim possession for the Wallabies in Brisbane.
Static plays
They often played with the two standing at first and second receivers on openside plays, dropping off passes.
In one static play, we saw Hodge setting at first receiver and Banks at second receiver behind a screen.
Reece Hodge got a good ball to Tom Banks behind the screen, and the fullback fired the ball out and the play resulted in territorial gain. This is one example of a good screen, with Banks as a second receiver.
On crash-ball distribution, we saw Reece Hodge step up most of the time.
With a screen of runners, the ball came out to Hodge who fired to a carrying option in Rob Simmons. However, the play was halted with a breakdown penalty.
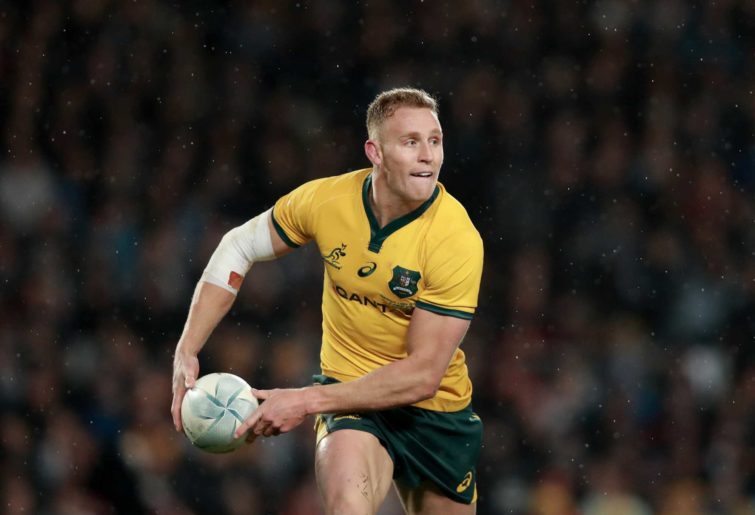
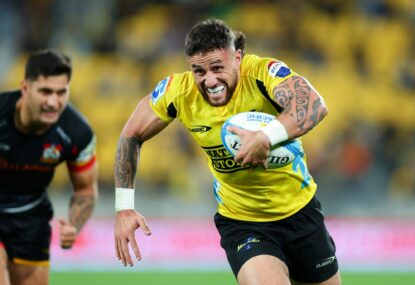
Reece Hodge of the Wallabies looks to pass the ball during the 2019 Rugby Championship Test Match between the New Zealand All Blacks and the Australian Wallabies at Eden Park on August 17, 2019 in Auckland, New Zealand. (Photo by Hannah Peters/Getty Images)
How about a first-second receiver link with Paisami and Hodge, this time with a reversal of the roles.
Going blindside off a ruck, we saw Paisami standing at first receiver and Hodge setting to second receiver.
The ball was played well with a dummy runner and a tunnel pass to Hodge, who drew and passed to the bruising Jordan Petaia, their biggest backline ball-carrier. Petaia rampaged forwards and secured thee territorial gain.
Major plays
Tom Wright impressed with a try on debut. Reece Hodge sighted space with the rush defence and no one at home, kicked beautifully over the top.
A lucky bounce got the ball to Tom Banks in support who got the ball away to put Wright in untouched.
Tactical kicking
Many penalty kicks were taken by Banks who booted the ball long and deep and into touch. Also, his kicks were good in finding territorial gain.
With a scrum somewhere in the 22 area in the middle of the pitch, they lined up Tom Banks as a first receiver on the right.
The ball came a little deep to Banks, who hoisted a tactical bomb-kick. The kick was well-weighted, allowing the Wallabies to smash Rieko Ioane as he hit the ground.
The dual pivot strategy with three tactical in-play kickers formed a good foundation for Lolesio to come on and run the game solidly.
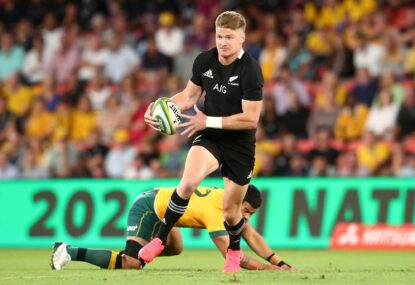
They shifted gears when Nick Lolesio came on from dual pivots to a solo pivot in Lolesio.
Lolesio is a solid finishing 10, especially when he comes off on a side that is tactically advancing.
They can continue a dual pivot structure with Lolesio at 10 and with Reece Hodge outside him at 12.
Currently, with James O’Connor and Matt To’omua out with injuries, this is extremely valuable.
Join The Roar rugby editor Christy Doran, former Wallaby Matt Toomua and a cast of regular and special guests as they look at the biggest issues in the game on The Roar Rugby Podcast. If you’re looking for great odds on the next game check out Aussie bookmaker PlayUp. Chances are you’re about to lose. Set a deposit limit.
He was born 1905, 1904 or 1908 according to various reports, in Wairoa, Hawkes Bay, and is remembered as one of the great Māori players.

I don’t really get the comparisons between Joey Manu and Sonny Bill Williams. I realise they have the Roosters in common, along with a…


All Blacks star Jordie Barrett has announced a sabbatical to play with Irish club Leinster at year's end, while committing his future to New…
There are those who will forever play the man - and not the ball - where TJ Perenara is concerned. The All Blacks and…
I well remember the day a New Zealand Rugby staffer put their hands on me. It seems I’d made them angry.The Wellington Sevens was…

New Zealand Rugby (NZR) have described the players' union call for the board to step down while governance reforms are carried out as a…