As the NSW Blues prepare to enter hostile territory on Wednesday night at Suncorp Stadium for Game II of the State of Origin series, the question remains around whether they have learned the lessons from their 26-18 loss to kick off the series at the Adelaide Oval.
Preparing a team for the most intense version of rugby league in nine days is difficult enough, and the Blues need to ensure they have a purpose behind the adjustments they make to achieve a different result and keep the series alive.
Here’s where Brad Fittler got things wrong in Game 1, and what he can do going into Game 2 to deliver a win for NSW.
Interchange strategy
In Game 1, the Blues’ interchanges did not have the desired effect and the rotations restricted the impact the Blues’ middle forwards could have on the match.
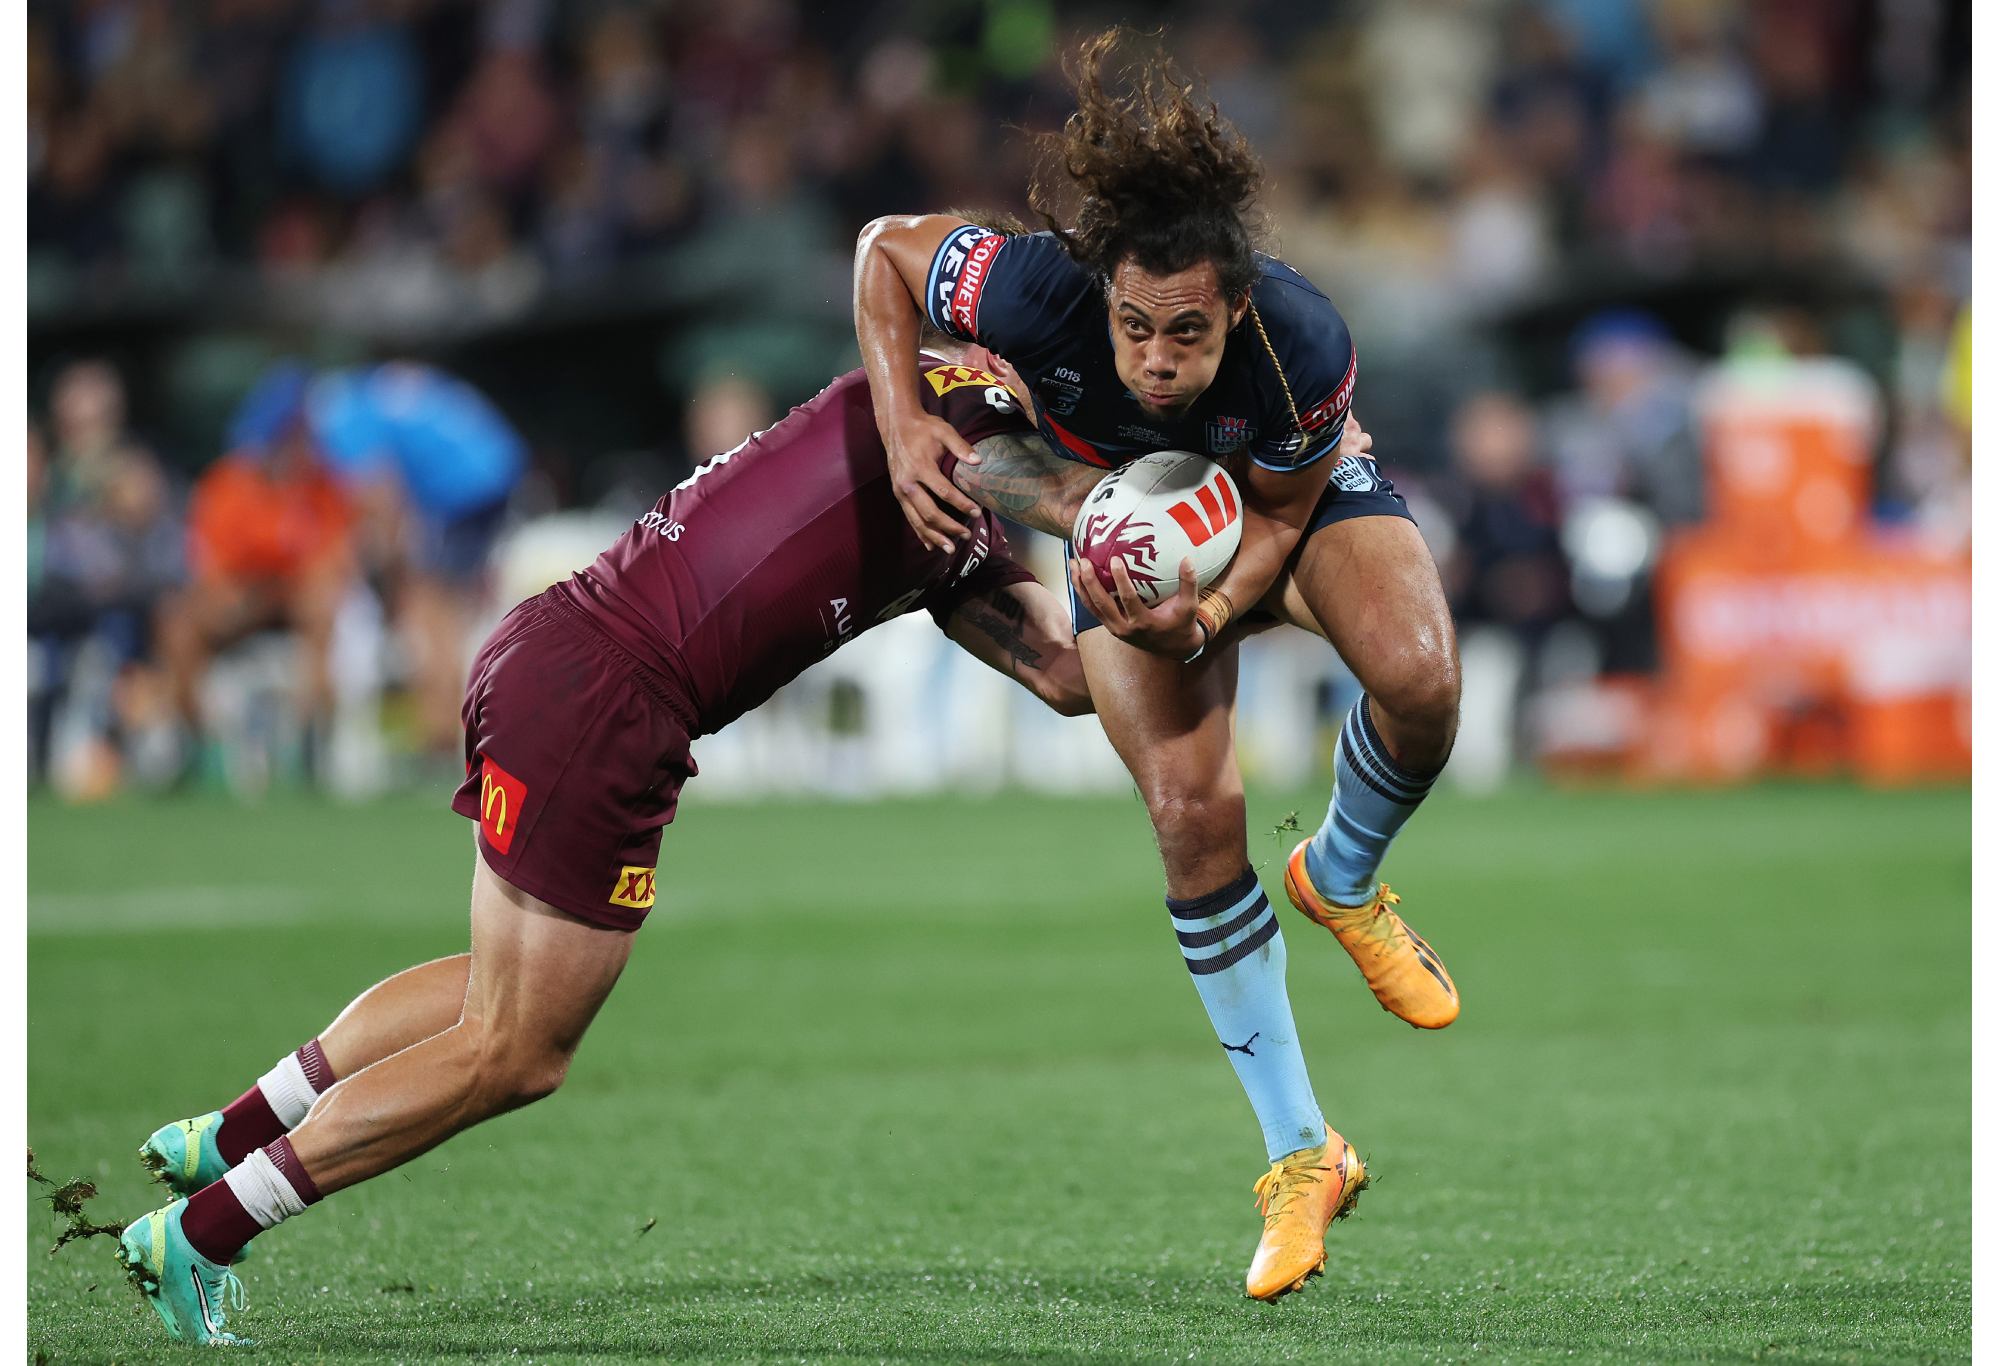
Notably, the Tevita Pangai jnr experiment backfired significantly with a -16 point plus/minus during his 30 minutes on the field.
The plan did not see a middle construction of Cameron Murray, Payne Haas and Junior Paulo which I believe will cause Queensland huge problems through the middle defensively.
The interchange plan only allowed for Haas and Paulo to spend the final eight minutes on the field together, during this time the Blues only had the ball for seven plays total.
There could also be an argument to be made in the fact that we only utilised six of our eight total interchanges.
Game I Interchanges
1. Martin On – Pangai Off (20 mins). Martin used as a middle for 10 mins.
2. Murray On – Young Off (30 mins). Martin to left edge. Murray into the middle.
3. Paulo On – Haas Off (30 mins). Straight swap.
4. Pangai Junior On – Paulo Off (50 mins). Straight swap.
5. Haas On – Pangai Junior Off (60 mins). Straight swap.
Free Interchange. Hynes On – Trbojevic Off (68 mins). Straight swap. Hynes used as a centre.
6. Paulo On – Frizell Off (72 mins). Murray to right edge. Paulo into the middle.
7. Interchange Not Used.
8. Interchange Not Used.
As we look ahead to this must-win match at Suncorp Stadium, I believe there is a clearer path for the Blues interchanges in Game II.
Reece Robson will be used as cover for Damien Cook in case he cannot get through the 80 minutes or sustains an injury. He can also be utilised as a middle forward during periods where the Blues have the Maroons on the back foot and fatigued through the middle of the field.
Stefano Utoikamanu will be used purely as a middle forward to replace Payne Haas or Junior Paulo in short stints – personally, I would look at using him in the 10-15 minutes either side of half-time. This ensures he is not required to play for extended periods of time and should also be on the field when the Maroons are utilising their bench.
The questions around our interchanges surround the use of Murray and Martin, both who head into the match with limited training and physical preparation.
Murray would be best utilised through the middle period of the match once the game opens up and fatigue begins to influence the Maroons.
This is the time where Murray, with his leg speed, footwork and agility, could break the game open and also create opportunities for James Tedesco with short passes and offloads through the middle of the field.
Martin was used as both an edge backrower and a middle forward in Game 1, he had a positive impact in both areas of the field. I would like to see him replace Tyson Frizell as an edge backrower and then utilise him as a middle in his second stint on the field.

Jarome Luai. (Photo by Mark Kolbe/Getty Images)
Good ball attacking adjustments
During Game 1, the Blues had 53% of possession and spent 16 minutes with possession inside the Maroons’ half of the field, compared to just seven minutes for the Maroons.
Looking deeper into this data, the Blues had the ball for eight minutes inside the Maroons’ 20m zone compared to the three minutes that Queensland enjoyed.
This significant advantage in possession and field position in an Origin match would almost always guarantee the team a simple path to victory – so why did the Blues attack not generate more points with these huge advantages?
The Blues scored three tries: the first was a well-constructed play with a short pass to Martin who beats Valentine Holmes on his inside shoulder, but the other two tries were from a loose ball pick up from Api Koroisau and another off a kick contest to Stephen Crichton.
Was there a disparity in completion rates or errors? Both teams completed at 78% and the Blues made 11 errors compared to the Maroons eight. Nothing within that data points to an obvious reason as to why the attack could not break down the Maroons defence.
When you study the attacking sequences from the Blues and the defensive movements of the Maroons you start to gain a better understanding of the tactics implemented by the Maroons and the lack of adjustment from the Blues key position players while attacking the Maroons try line.
In the video below I have highlighted four areas in which I believe the Blues can improve when attacking inside the Maroons half of the field.

Clip 1 – Beating the jamming defence
On play 5, the ball comes from a play the ball off the sideline into the hands of Nathan Cleary who finds Isaah Yeo out the back.
Munster sees an opportunity to shut down the play, jams in and lands on the pass and shuts down an opportunity for the Blues who had an overlap had the ball moved past Cameron Munster.
Yeo should not be linking to the Blues’ edges, this sequence should have been Yeo passing to Cleary which would have allowed the ball to beat the jamming Maroons defence and find the space on the outside.
Clip 2 – Identifying the width of the defensive line and finding the space.
On this occasion, the Maroons line narrows and it gives the Blues and opportunity to find a pass out the back to Jarome Luai who would have had an overlap on his outside. If the Blues halves are more consistently available out the back of their powerful middle runners with the ability to pass, the more opportunities they will generate.
Clip 3 – James Tedesco hides behind the play the ball and presents on the short side late.
He digs into the line and passes short to Frizell who is held up. What needs to be tested more often is the movements of the Maroons down short sides, considering they are defending their try line in this situation they move very passively, and it nearly costs them a try.
Clip 4
After a stoppage for the David Fifita HIA, the Blues use Paulo to generate some momentum at the posts. On the next play the halves pair up on the left-hand side and the ball is not fed to them out the back by a middle forward.
Yeo instead runs a decoy and Cleary receives the ball and quickly links with Luai. Due to the ball arriving early, the Maroons defence must make a decision. Daly Cherry-Evans protects his inside shoulder and Holmes does not, which opens the space for the short runner Martin to score.
Moving into Game 2, the match up I would be looking to test is Luai and the Blues left edge up against Cherry-Evans, Holmes and Xavier Coates on the Maroons right side, which missed 11 tackles in Game 1.
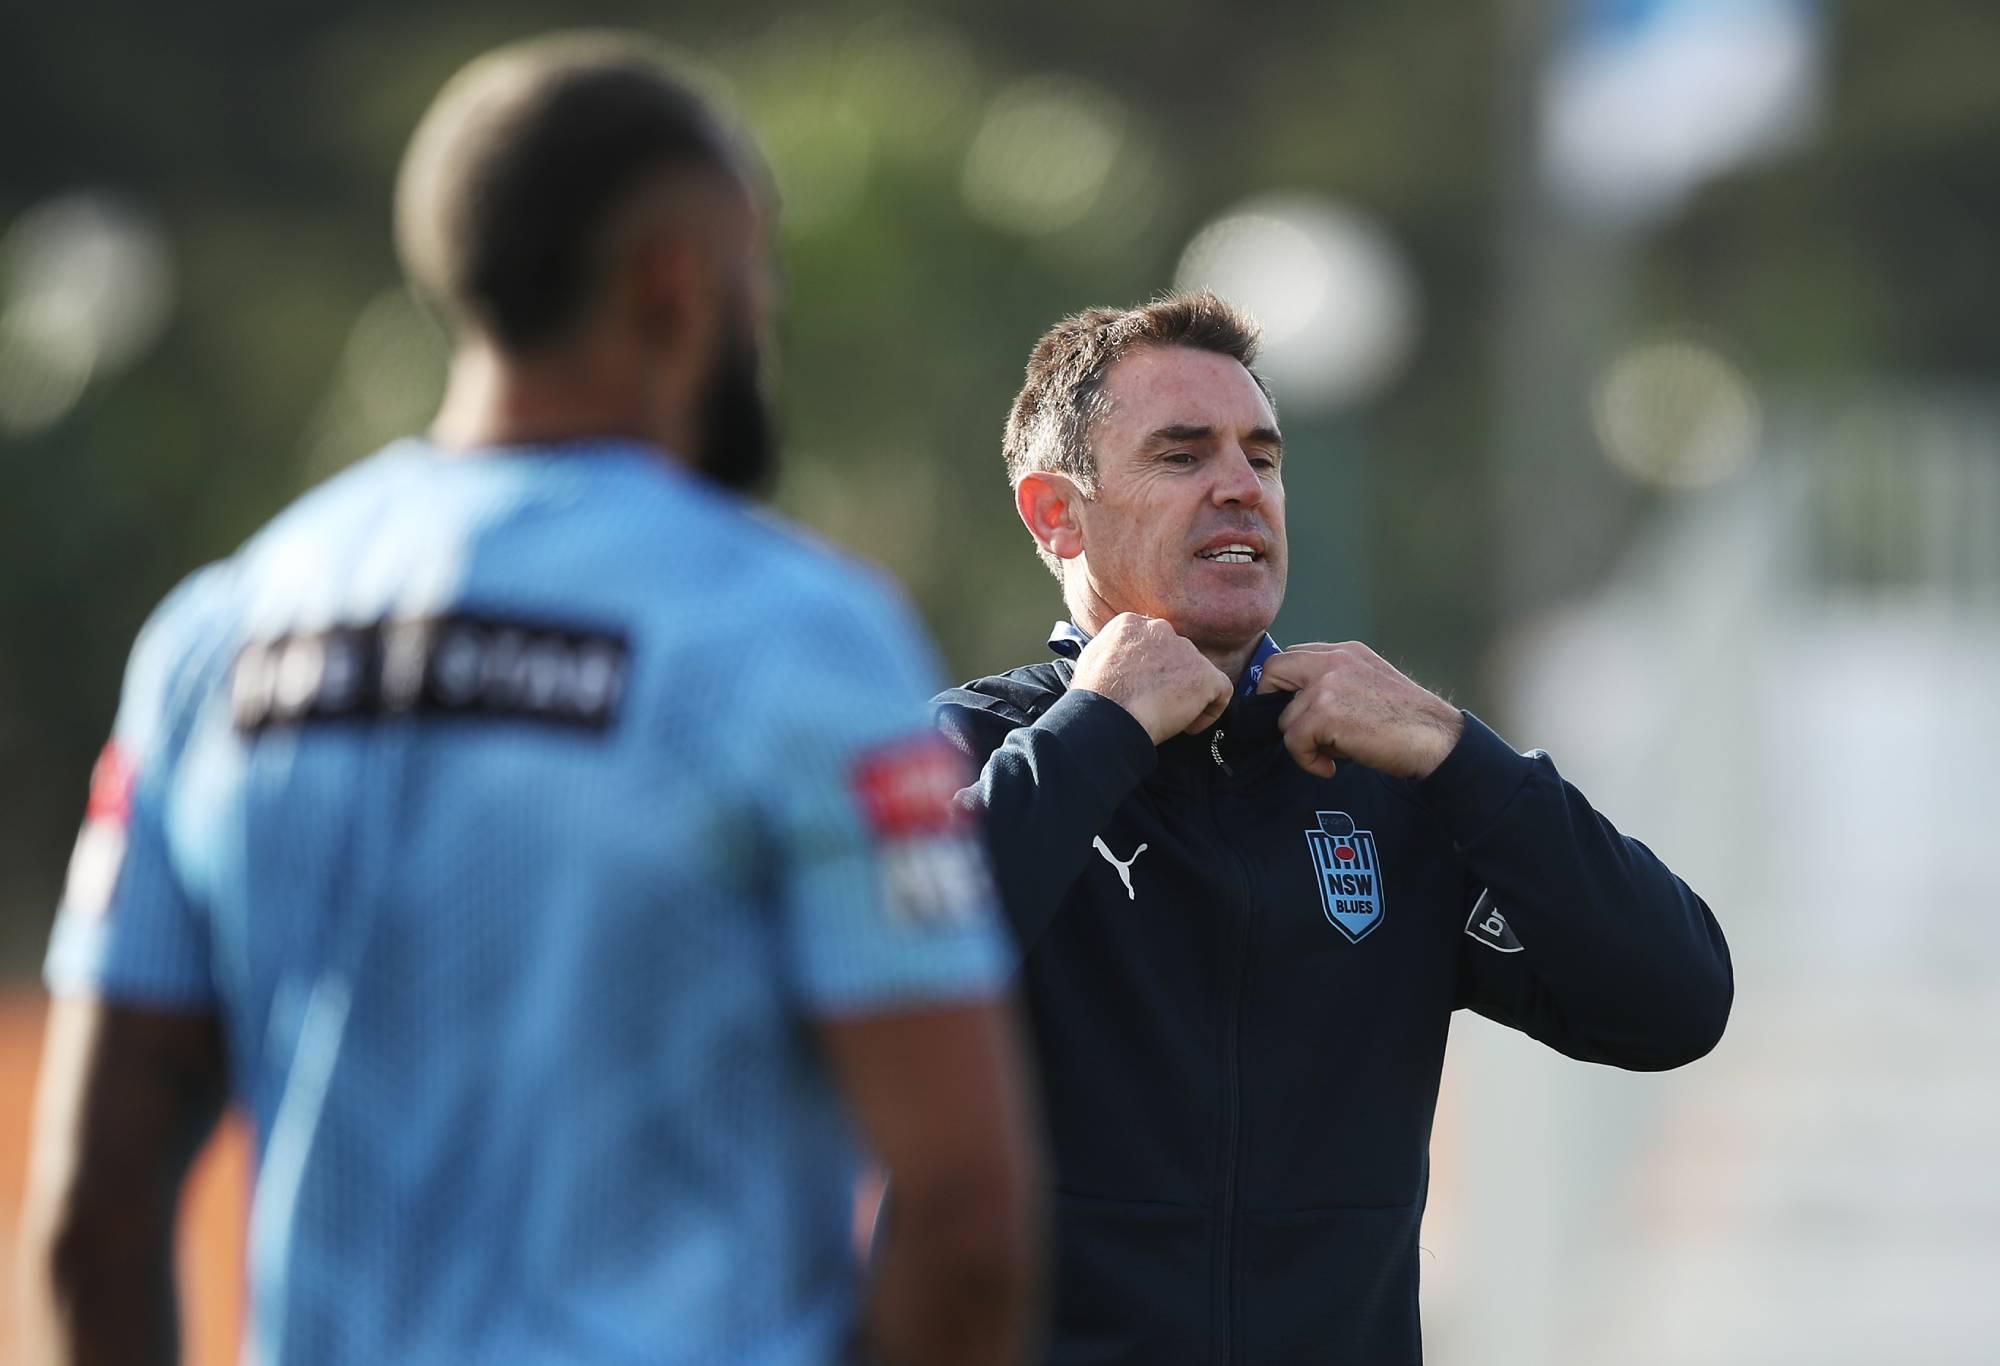
Blues coach Brad Fittler. (Photo by Matt King/Getty Images)
If the halves can link up on one side of the field and eliminate the need for Yeo to play out the back to each half when they are split on a side each, the Blues will be far more dangerous in good ball areas.
When this initial play occurs, the Blues need to then sequence and find the space if the Maroons are good enough to solve the initial play. Too often, the Blues will run a play and then look to lay a line on the next play which allows the Maroons to recover and reset their line.
The Blues will do this irrespective if they have generated momentum through a fast play the ball. It is vital the Blues look down the short side or move the ball to the long edge with the defensive line shortened due to the quick play the ball.
Tom Trbojevic. (Photo by Cameron Spencer/Getty Images)
Yardage attacking adjustments
Conservative, one out and narrow would be my description of the Blues’ yardage attack in Game 1.
This allowed the Maroons to shorten their defensive line, be aggressive with their line speed and win the majority of tackles as the Blues’ lack of push and support allowed the Maroons to get 3 men in the majority of tackles and control the ruck speed.
This lack of ruck speed did not give the Blues many opportunities to move the ball and fatigue the Maroons middle forwards. With 53% of the ball and a huge advantage in terms of territory, this is simply a game the Blues should not have lost.
There are only some subtle adjustments which need to be made in Game 2 to see some huge changes in fortune for the Blues. If made, it will allow them to bring the likes of Cook, Murray and Tedesco into the game through the middle of the field which is where they are the most comfortable and dangerous.

Clip 1
The Blues can gain ascendency early in their yardage attacking sets by finding a smaller body on kick return or by utilising Tedesco, Josh Addo-Carr and Brian To’o’s footwork to find a quick play the ball.
Munster would be my target when bringing the ball back from on kick receptions as he missed five tackles in Game 1. Look at the width of the Maroons defensive line on play 2: they have their long side centre in the middle of the field at the posts, which only leaves one defender in the space on the outside of the posts.
The Maroons rely on fast line speed and a predictable play from the Blues to get away with having such a compressed defensive line.
In Game 2, we must expose this width and be willing to string two quick passes to either our backrower or centre who are in position and deep enough to take advantage of the space. This will ensure the Blues are moving the Maroons middles while also making easy metres out of their own end.
On plays 2, 3 and 4, the Blues take very simple hit ups and are smothered in three-man tackles on each occasion by the Maroons.
On play 5 we see a shift which gives and insight into the impact ball movement could have if utilised effectively in Game 2. The Blues then give away a penalty as the Maroons receive the kick. This simply cannot happen in Game II as discipline will be a huge factor in determining field position.
Clip 2
The Blues lose plays 1 and 2 in this set. On play 3 they move the ball to their right edge and find some space, but No.4 Tom Trbojevic is in a backrowers width as the Blues had not yet fallen into shape behind the ball. I would like to see the Blues take the short side more often on P4 to access some easy metres.
Notice on play 4 after the shift, Josh Addo-Carr has a run and is able to find some space and is only tackled by two Maroons defenders, a sign that the defence is not quite as set and dominant post-ball movement from the Blues. A nice set end which pins the Maroons inside their own 20m zone.
Clip 3
Plays 1, 2 and 3 in this Blues set are very pedestrian and again do not ask many questions of the Maroons defence, but I really like the back end of the set.
On play 4, Haas takes a strong carry and generates momentum and a quick play the ball. What happens next on play 5 is critical to how the Blues play out of yardage in Game 2: the Blues rush down the short side and take an easy 30 metres from the Maroons.
The kick on last play is ineffective and largely negates the impact of the positive Blues play late in the attacking set. Kicking off a sideline is never easy for a half, but there is an easy remedy for this scenario.
If the Blues move the ball on play 3 to an edge and take the short side on play 4, they then allow themselves play 5 to get back into the middle of the field to set up for the kick and create an easier scenario for the halves to put the ball into a corner for the Maroons to receive.
For this to happen, the Blues plays 1 and 2 will need to be more positive and impactful by finding a soft spot or space in the Maroons’ kick chase line or getting into a defender who will be less effective due to his size or poor technique. This will generate more momentum early in the set and allow the Blues to move the ball on play 3.
Clip 4
This is the Blues yardage set after the Martin try. The Maroons are now having to complete their third consecutive defensive set and the fatigue is evident in their line speed. This is what the Blues can create if they move the ball early in the match to fatigue the Maroons’ middles.
This will then allow players such as Tedesco, Cook, Murray, Yeo, Robson, Haas and Martin to attack through the middle of the field. This set culminates with an excellent kick and tackle which pins the Maroons inside their 10m zone. They then do not get out of their 20m zone until play 4.
As we look ahead to Wednesday night, the formula for success in yardage will be to differentiate the way the Blues look to attack the Maroons out of yardage early in the match.
If the Maroons compress their defensive line the Blues need to be willing to move the ball to the edges to find one on one tackles and easy metres.
On the back of these edge shifts, it is crucial the Blues then take the Maroons on down the short side, as shown in Clip 3, and take the metres on offer. The shift would ideally be on play 3 and take the short side on play 4 to ensure play 5 can be used to get into a decent location for a set ending kick into a corner and land on the Maroons catch.
If the Blues can generate momentum out of yardage with the above tactics or through another avenue, they will be able to induce some fatigue into the Maroons middle forwards.
Once this occurs it is crucial the Blues then turn their focus to playing through the middle of the Maroons defensive line with the likes of Cook, Murray and Tedesco whom all have good footwork and leg speed which will cause some issues for the tired Maroons forwards on the back of direct running, short passes and offloads from the Blues.
Tetley
Roar Rookie
Good job scribe. Thoughtful analysis ????
KillaKanga
Roar Rookie
:stoked:
KillaKanga
Roar Rookie
Haha you fool, this is all part of Fitler’s master plan…..let you win three games and then come back and win the
remainingfour, oh crap :crying:mushi
Roar Guru
This. This! I'd rather have a pay wall and this was the reveal than some diatribe about mid season origin.
Pop
Roar Rookie
Having a blueprint to win is one thing ,implementation of that blueprint is a totally different matter.
Choppy Zezers
Roar Rookie
You Queenslanders can shush up now about our rubbish team and dumb tactics and inability to win. We are rebuilding and have been since, oooh lets say last century?
The Wollongong Ocean
Roar Rookie
Where it went wrong… QLD scored more points than NSW
jammel
Roar Rookie
Like the analysis. Blues massive unbackable favourites imo! QLD the worst origin 17 ever. NSW's series to lose from here :) :) Go Queensland!!
Nat
Roar Guru
Really good analysis, albeit with 20/20 hindsight. A couple of points:” the Blues need to then sequence and find the space if the Maroons are good enough to solve the initial play. Too often, the Blues will run a play and then look to lay a line on the next play which allows the Maroons to recover and reset their line.” Great point and this is the key difference between the NSW team and the Panthers. The Panthers rarely have a settler and everyone, through repetition, knows where to be at a certain time/play so there is pressure from winger to winger at club level. Bench rotation: another good point and obvious to most bar Freddy. Filter has a history of getting this wrong but G1 was as bad as I’ve seen. Maybe the fact he has limited himself to 3 forward and a hooker replacement might simplify his rotation plan thinking. However, he is still starting 2 x Aust reps from the bench. Just like last time, by the time come on there is a chance they will be chasing points. Why not start hard, set timely rotations and finish with your best? Spread wide early: All defences compress after a good kick chase. It is fine to tell them to spread early but when they back 5 are charged with taking those early hit ups, who are they passing too? Qld will believe they have the pace to cover a spread so it would want to be a well executed shift or potentially a kick for JAC. Umbrella defence in attacking zones. Putting in a grubber for a repeat set is fine but it is also a risk when chasing points. Qld went up by 10-pts quickly which caused panic and the risk of handing the ball over was huge. Maybe Moses will be better at this but he also knows he has one shot so don’t over cook it.
jimmmy
Roar Rookie
A spot on solution to the shooter defence. . One or two grubbers in behind and Holmes and Hammer will think twice. NSW did that in game two last year and we were all at sea. It really doesn't matter what defensive system a team employs, if you have a guy who plays heads up footy it can be overcome . Modern RL relies way too much on system and not enough on footy smarts. Sometimes sitting in the stand you see an opportunity and then the team blithely goes through a stupid block play for no result. QLD are very lucky to have Munster who epitomises heads up footy. You guys need Luai to do the same.
The Barry
Roar Guru
Great read The Queensland rushing defence was even more pronounced when NSW were attacking from inside Queenslands 20. Hammer and Holmes were superb in their decision making and shutting play down. Crichton and Turbo were under constant pressure whenever they caught the ball in attack For as long as I’ve played and watched footy the response to the rushing defence is a grubber behind the line. NSW (Luai) did it once and got a repeat set. Don’t recall it ever happening again The TPJ scapegoating continues. Payne Haas had a -16 differential while he was on as well. Ultimately that stat is pretty meaningless unless either player directly stopped NSW scoring or enabled Queensland. Queensland scored off the back of a TPJ error, but in scoring Cobbo beat To’o, Luai and Tedesco with 5cm of field to work with. TPJ made 11 hit ups for 99 metres and 13 tackles in 29 minutes. He did his job. I guess we’ll see what Stefano returns… I agree the interchange was poorly used. Fittler said in the post game press conference that he didn’t know how to get Hynes in the game. NSW dominating field possession and territory and he couldn’t work out how to get an attack based player into the game? Mind boggling. Also keeping two interchanges in reserve. History shows Queensland won the game in the last ten minutes, running over the top of NSW and looking like they had more in their legs despite all the extra defending Fittler went left field and picked Young and Pangai - two players with penalties and errors in their games - and then hooked them, not to return - to the detriment of the team - as punishment for making errors or giving away penalties
Cam
Roar Rookie
I like the bench strategy of using Stefano Utoikamanu just 10 minutes each side of half time when the Qld starting middles are off the field. It is the same strategy I use in my U10s for the kid who came from soccer and only plays because his dad makes him. Just enough game time so that his dad doesn't become an issue, but not quite enough for him to blow our team up. The Utoikamanu selection has a real TPJ vibe about it.