


- Video
-
Club Roar
Captured a great grassroots sporting moment? We want to see it!Content Collections
The Roar Community
- Join
- Login
There is no excuse for leaving a fit Quade Cooper out of a 33-man 2023 Wallaby squad. Any flyhalf takes a long time to see all the shapes and scenarios of rugby, and if he is the goalkicker, as Cooper is, his ability to steel his nerves to make kicks for a Test win and reach finals grows with his caps. Thus, if apprentice Ben Donaldson — understudy on the tee to Tane Edmed — is seen by the boss as a better tool for the smash and grab job of 2023, to trot on at 68:00 of a tight Test knockout with England or Argentina, Eddie Jones needs new spectacles.
But there is a case to be made for Tom Hooper’s inclusion. He is a big raw blindsider (not a Test opensider) with an engine. It is not clear he is a better prospect for this Cup than Pete Samu, but at least it is not as ludicrous as the Donaldson over Cooper pick.
When I was in Pretoria, being flown over by passenger aircraft and brandied into oblivion by a pack of Potchefstroom farmers, I made a point to watch the new lad. His ill-fitting scrum cap, emerging mullet, and coat hanger shoulders made it easy, but he was fed to the slaughter in the Loftus abattoir with a game plan that encouraged collision carnage (of the new and old Hooper; as well as Cooper, Dave Porecki and Allan Alaalatoa, who were forced to be road blocks for waves of loaded Bok lorries).
I have gone back to the first Bledisloe at the MCG to look closely at every single Tom Hooper involvement.
The official statistics had him carry five times for 10 metres, complete four passes, and attempt 35 tackles (missing five).
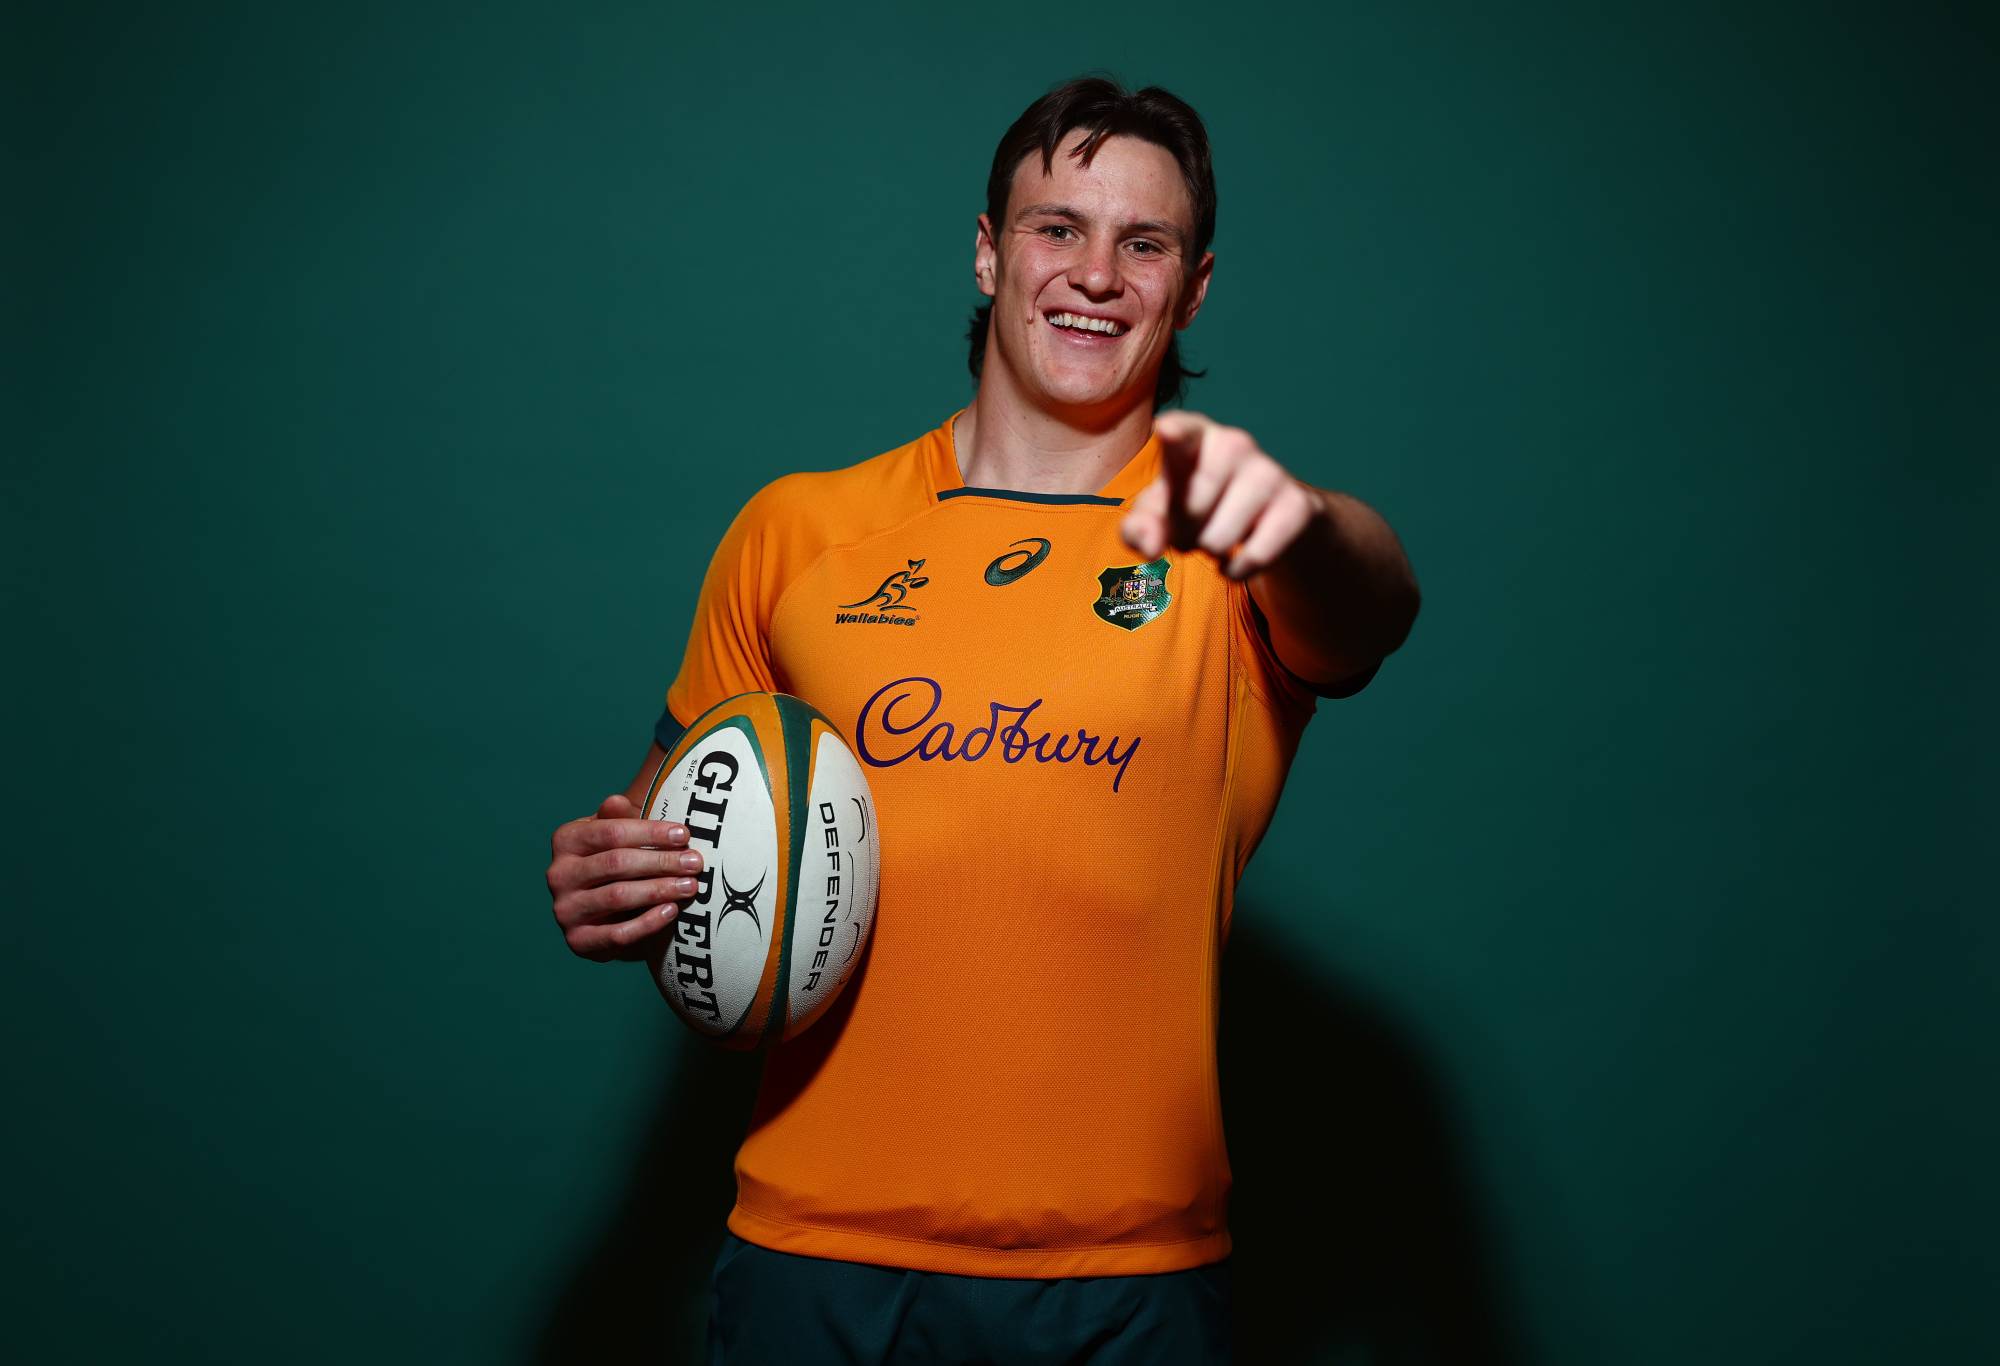
Tom Hooper. (Photo by Chris Hyde/Getty Images)
When I watched the replay, stopping at each of his plays, I did not find that many tackles (perhaps the record keepers awarded him tackles in which he was actually trying to get over the ball, which was his frequent goal as the designated number seven) but I saw him making more passes, as he was set up as the scrumhalf from most Wallaby lineouts, and he attended an almost unbelievable number of rucks, as he often camped out just behind Samu Kerevi in midfield as his ruck escort.
I will use my patented chukka rating system (used in the past to look at ‘grunt’ locks Matt Philip, Guido Petti, Rob Simmons, Scott Barrett, and Patrick Tuipulotu , as well as Bakkies Botha (top of the class for effort and results) to divide the match into eight periods of ten minutes, assess each involvement, and look at them in a vacuum in the sense that an act is good even if wasted by the next man.
Each involvement is classified as positive, neutral, or negative, and I am strict. Most successful acts were just neutral. For a lineout or restart take to be positive, it must have an added degree of difficulty (sun in the eyes, in traffic, or a bad throw, or a super challenge). Hooper was not a lineout target; he was the nine.
A positive carry was more than just falling over the gainline. These are big boys; the biggest of all. I want to see power and results.
My system does not discriminate between attack and defence: a good tackle is the same as a good carry; a cleanout or a counter-ruck – or a kick-rush, or a maul sack – are all equally involvement.
For a reference point, the best single match I rated was Botha’s in the 2007 World Cup:
Botha’s phenomenal numbers
88 involvements
1.1 involvements per minute
35 per cent positive
1 per cent negative
Ratio (positive/neutral/negative): 31-56-1
But a tighthead lock is a grunt. And Hooper is a newbie, playing a 6-7 hybrid, with no free lineout ball or restarts.
So, we would be shocked if he met the standards of Botha or even the much-maligned Rob Simmons or workhorse Matt Philip.
Overall, the quantity of Hooper’s work exceeds the quality in this first full Test; more a Simmons than a Scott Fardy. He did not blast anyone in the tackle, his cleaning was the right height, and he just did not quit trying.
His stopping power is not where it should be for a six, and his speed is not a seven’s; but it is clear there is something here, worth seeing and honing. His stamina is definitely top drawer.

Wallabies Tom Hooper and Izzy Perese in Arnhem Land (Photo by Julius Dimataga / Rugby Australia)
First Chukka (12 involvements)
00:48 Hooper attends a ruck and cleans it but the All Blacks backed out (neutral)
01:35 Takes the ball from a lineout and passes it to the backs (neutral)
01:43 attends ruck; no impact (neutral)
02:08 cleaned out by Ardie Savea three metres backwards because he was too upright, giving Aaron Smith quick ball (negative)
05:22 attends ruck; no contact (neutral)
05:33 attends ruck; no contact (neutral)
06:07 strong clean out at ruck after a Wallaby line break (good)
06:15 attend a phase 12 ruck (good because of how much ground he had to cover)
06:30 attend ruck on top of Holloway and Rob Valetini (eventual try allowed) without impact (neutral)
08:33 tackles Jordie Barrett but allows offload to streaking Will Jordan by not being big enough in the contact (negative)
08:40 passively tackles Brodie Retallick, driven 3 m backwards (negative)
9:00 attacks New Zealand ball in the breakdown before Will Skelton pilfers the ball (positive)
Hooper looked up for it, but a bit tall in contact. Still, his 3-6-3 (3 positive, 6 neutral, 3 negative) tally was impressive against a pack like this.
Chukka Two (11 involvements)
10:01 gets in a good position on maul defence, but cannot kill it (neutral)
11:20 attends Valetini ruck, but no impact (neutral)
11:40 falls back in the tackle of Frizzell; too high (negative)
11:55 strong counterruck (good; slows ball)
12:24 heavy carry in tight to reset the attack (two hard yards; good)
15:00 cleans out ruck (good; after Carter Gordon misses a sitter to stay 7-5 up)
15:10 misses Mark Telea (join the club) on left wing after Gordon scuffs a kick (negative)
17:01 attends ruck with minimal impact (neutral)
17:20 blocks Retallick from a chargedown attempt, using his arms, which would be pinged by some referees, but gets away with it (neutral)
18:45 tackles Telea (good, by definition)
18:55 reloads quickly to tackle Retallick, albeit high and folding backwards (neutral)
Hooper’s work rate stayed high. His quality was a bit inconsistent, but showed fortitude to keep coming back into the fray and be a mongrel in training. His rate (4-5-2) was an uptick from the first chukka. He was positioned in the defensive line in the second or third channel, usually on the left.
Chukka 3 (14 involvements)
20:09 completes good pass from lineout, where he stood as nine (good)
20:32 tackles de Groot at low speed (neutral)
20:58 attends insignificant ruck (neutral)
22:12 double-cleaned out at a Telea ruck after missing him twice (three negatives)
22:43 falls back in tackle of Lomax who came around the corner (negative)
24:02 defends maul in the heart; repels the All Blacks 5 m out (good)
24:40 strong low tackle on try line (good)
25:42 falls back over the line as Telea makes his flawed attempt at a tap and score; not a good position for power (negative)
26:48 misses Richie Mo’unga (negative)
28:46 goes for a slow/snaffle of Telea post-tackle (neutral; but not successful)
29:20 attend a passive ruck (neutral)
29:35 grapples and wins a tussle with Savea at a ruck (very, very good)
Even though he was a mixed bag (4-4-6) and makes too many errors in contact, the work rate was outstanding. He took good lines from ruck to ruck, showing an understanding of the flow. This is what you would expect of a blindside posing as an opensider in his first full Test against the world’s best form team.
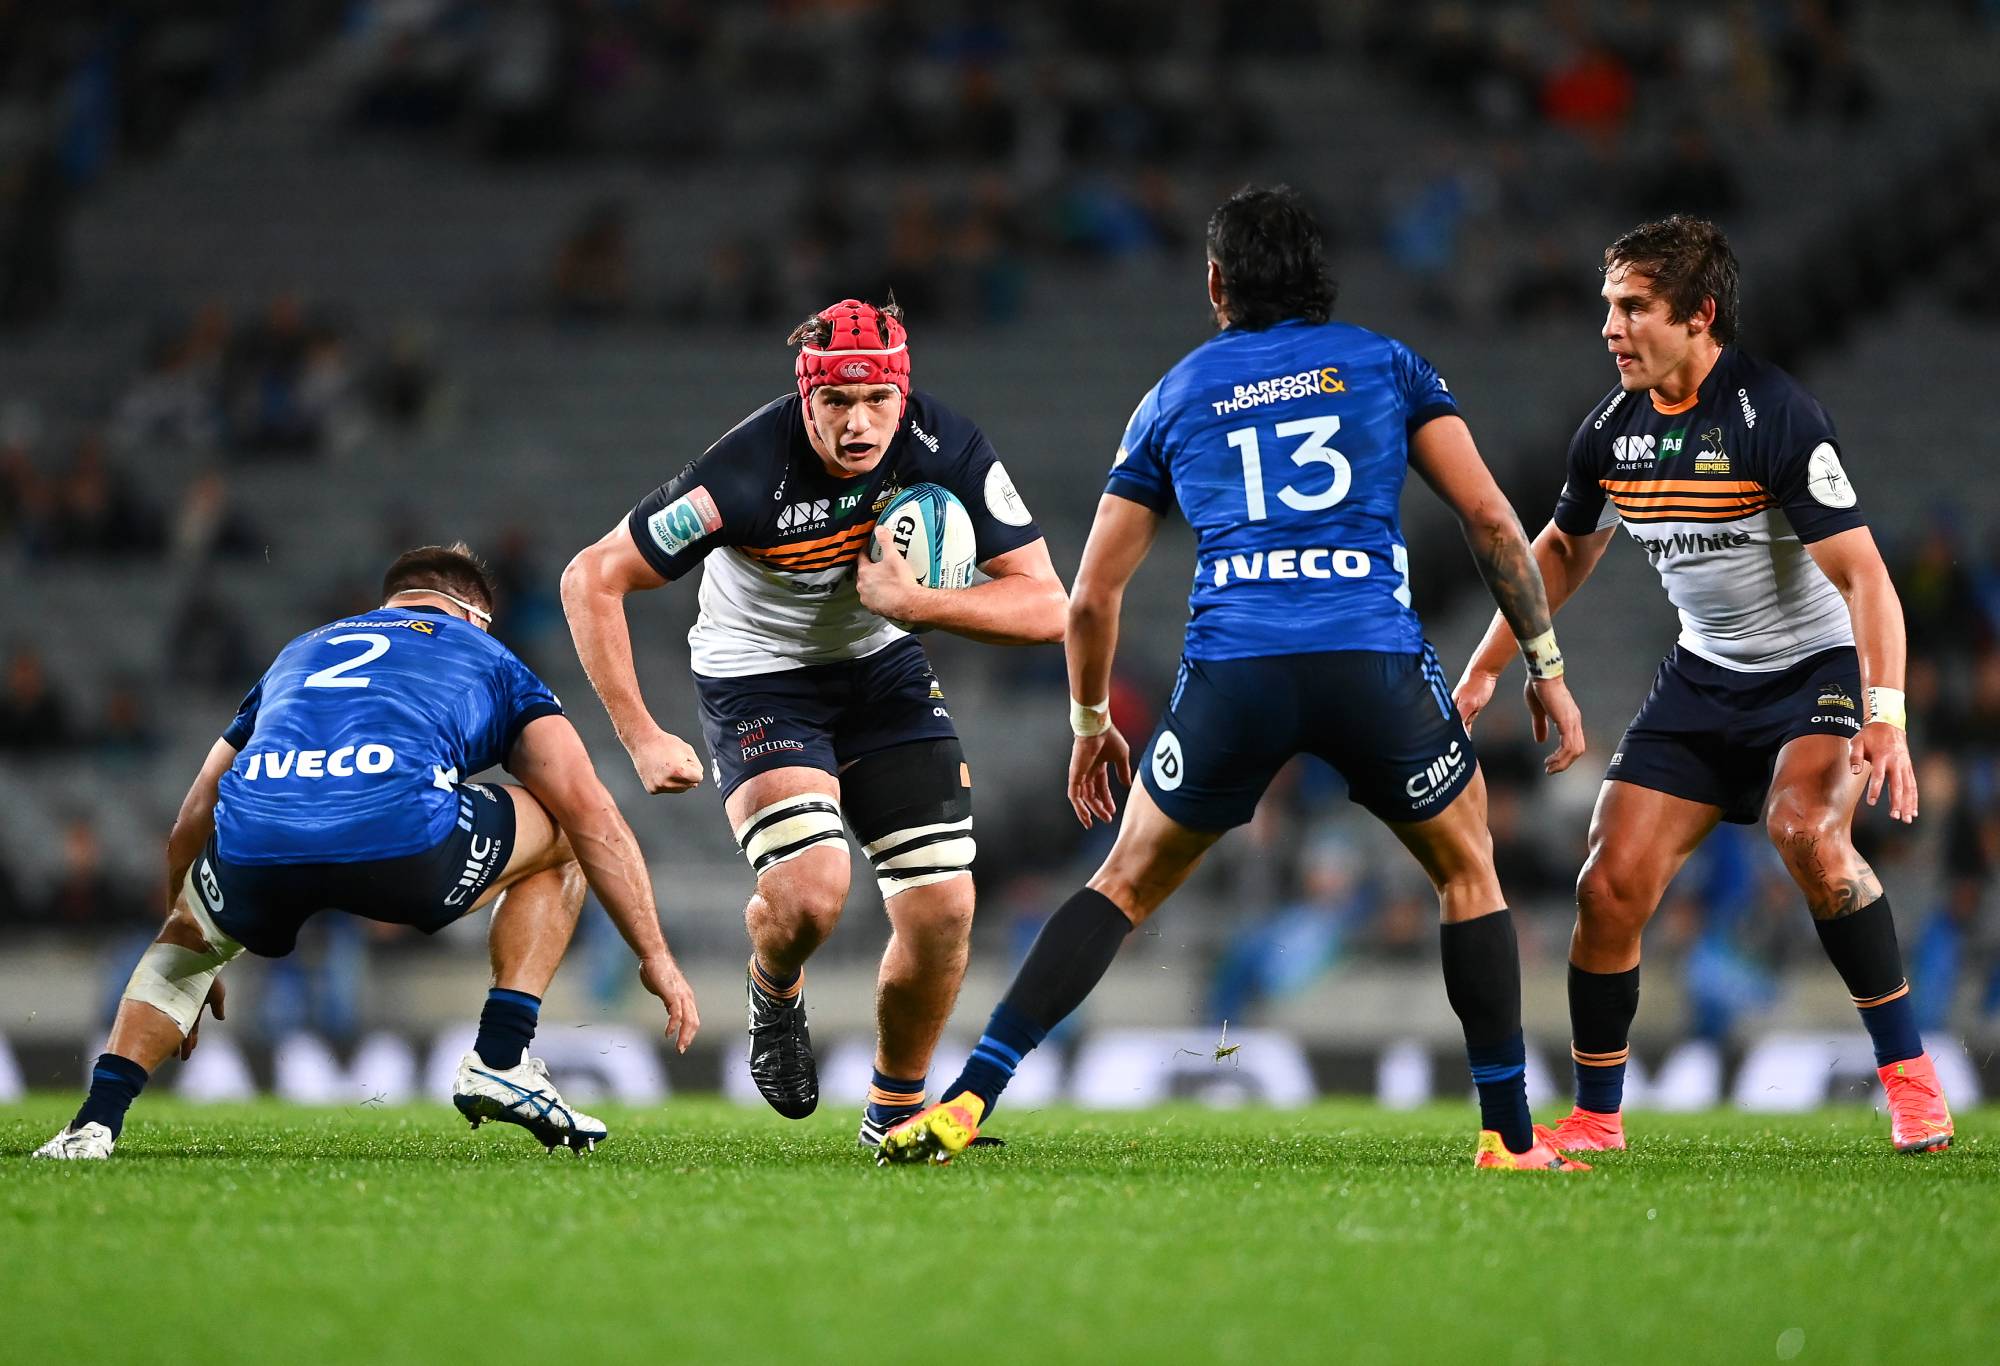
Tom Hooper on the charge. (Photo by Hannah Peters/Getty Images)
Chukka 4 (10 involvements)
31:58 gets over the ball for a second, but wisely pulls out (neutral)
32:18 wrestles with Scott Barrett until he brings him down (neutral)
32:30 he is the second man in on a tackle; finishes it, but still goes backward (neutral—borderline)
33:20 stands off to the left of a maul, come around too late to stop Codie Taylor peeling off, despite Tate McDermott’s signal (negative, as the All Blacks go up 12-7 and never look back, but done no favours with being picked as a seven, for which he is clearly not agile enough)
37:50 misses Telea (who will haunt his nightmares) on a break (negative)
38:06 rides Savea 3 m in the tackle (negative)
38:55 holds up Savea with help (excellent)
39:20 tackles and attempts a pilfer (good)
40:00 tackles Rieko Ioane (good)
40:32 tackles Scott Barrett (good)
4-3-3 was the count. In a period in which the game escaped, Hooper dug in. His tendency to go for too many feints and to react slowly was no surprise (a novice) but his heart is big and he is extremely lively.
First Half
Young Hooper had a staggering 47 involvements. This is PSDT level work rate.
His effectiveness was unsurprisingly spotty: 15 positives, 18 neutrals, and a whopping (potentially quarterfinal-losing) 14 negatives (or 30 percent of his involvements). This is the inherent issue with playing a rookie against an elite pack.
On the plus side, his clean out of Ardie Savea was textbook and as difficult as it gets, his reload time was Test quality, and he did not slow down very much (12-11-14-10) over a particularly fast-paced 40 minutes.
Chukka 5 (10 involvements)
41:03 covered a ruck for Koroibete without contest (neutral)
41:13 attended a ruck as second man without All Black contest (neutral)
41:20 attended third ruck in 17 seconds and effected a strong clean out after a Wallaby line break (very good)
41:36 attended fourth ruck in half a minute over Valetini (no contest; neutral)
41:44 offered himself to Tate on attack; caught the ball, dummied, took contact, was reversed and driven back (neutral), but did place well
43:35 he was the first transfer in a lineout, then to Porecki. Maul collapsed; All Black ball. Neutral.
45:49 followed Kerevi to a midfield ruck and covered well (positive)
46:17 gets in the way of a pass from nine to Taniela Tupou (it luckily bounces backward, but it is still a negative involvement)
47:30 attended a no-contest ruck (neutral)
48:45 soft latches but misses clean of Savea; Wallaby is held up and turned over (negative)
Positive-neutral-negative is 2-6-2. Hooper got caught napping a few times but continued to graft.
Chukka 6 (8 involvements)
50:10 middleman in a maul which collapses but it is not his fault (neutral)
51:50 soaks up Samisoni in a tackle (neutral)
52:40 follows Kerevi; covers him as he is contested (positive)
52:50 covers Slipper on a no-contest ruck (neutral)
53:10 completes difficult clean out for Nic White (good)
53:29 rolled Dalton Papalii off a ruck (very good)
56:43 tackled Will Jordan (good) and separated enough to get over the ball and win a hold-on penalty (good)
In a chukka when New Zealand went up 26-7, Hooper played his best footy, even if his work rate subsided a bit. His plus-even-minus score was 5-0-3. This level of accuracy is what is required from a Test flank.
Chukka 7 (off for almost 7 minutes; but still 4 involvements)
The prop card and injury scenario meant Hooper sat next to Tupou at 61:42, but after he came on at 68:37, he got busy.
68:55 collected loose ball (positive)
69:03 finished a good cleanout (good)
69:20 made a low cleanout (good; one of the best in Test)
69:58 worked hard to get to the breakdown after Angus Bell break and played nine (good)
During this truncated chukka, Hooper was 4-0-0; Petti-like.
Last Chukka (10 involvements)
71:26 cleaned out from the wrong side, but with Australia down by 7-38, Wayne Barnes lets it go (negative)
74:51 attended no-contest ruck (neutral)
75:03 catch and carry into teeth of defence (good, hard yards)
76:25 tackled Rieko Ioane well and sprung up quickly (good)
77:44 cleaned for Quade Cooper (good)
78:42 second man in, tries a steal, but too late (neutral)
78:57 too upright in a ruck; cleaned out hard (negative)
79:54 plays nine at a lineout again (good pass to White)
80:04 attends no contest ruck (neutral)
80:16 strong carry off nine (good)
Hooper was impressively active in the last chukka and not that inaccurate (5-3-2).
His 32 involvements in 33 minutes of the second half was not bad, and his overall ratio of good to neutral to bad improved to a respectable 16-9-7.
Hooper had 79 involvements in the match: 31 positive, 27 neutral, and 21 negatives.
The biggest hole in his game so far is the lack of dominant tackles. His size and comfort with contact should translate into more.
These numbers are definitely decent for a first full match in the Bledisloe but not good enough for a knockout against the All Blacks, France, Ireland, or the Springboks.
The good news is he did improve his error rate in Bledisloe 2 and thus, seems to be coachable.
The bad news is the Cup is here.
Join The Roar rugby editor Christy Doran, former Wallaby Matt Toomua and a cast of regular and special guests as they look at the biggest issues in the game on The Roar Rugby Podcast. If you’re looking for great odds on the next game check out Aussie bookmaker PlayUp. Chances are you’re about to lose. Set a deposit limit.